How to Set Up the Folding Barbeque Stand on Your Gas Stove Safely
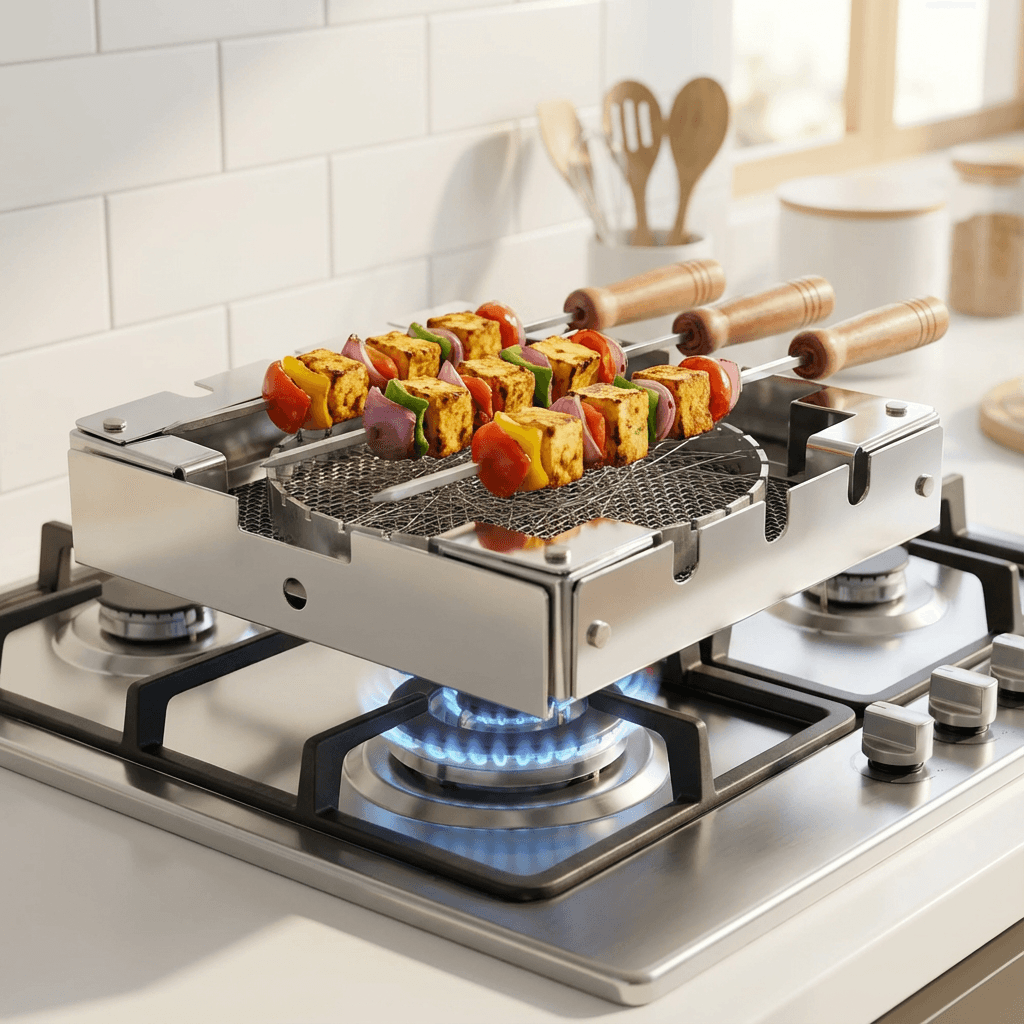
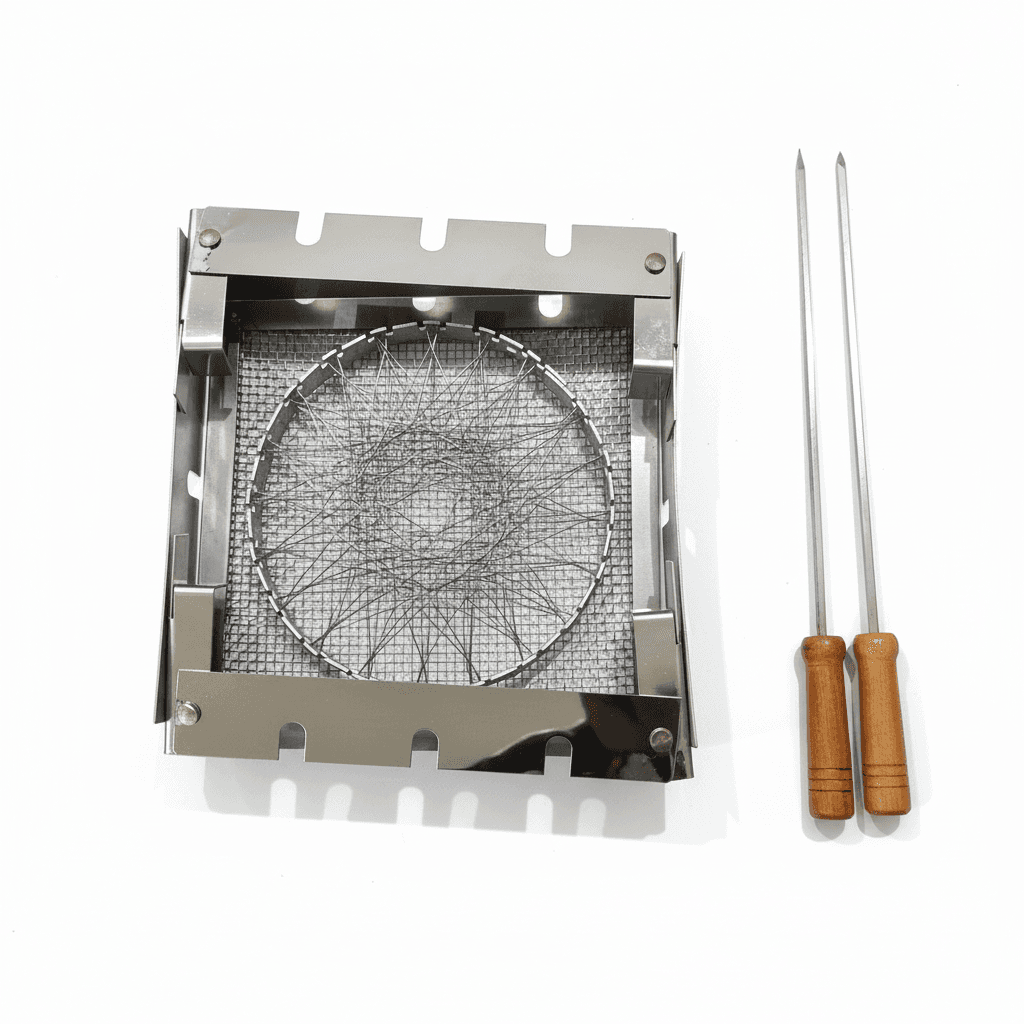
The Folding Stainless Steel Barbeque Stand is designed to go from flat storage to a ready grill in under a minute, but a few setup details are worth getting right the first time — mainly around stability and burner fit — so your first grilling session goes smoothly rather than becoming a lesson in what not to do.
Ready to shop this guide?
Shop the Folding BBQ Stand with SkewersStep 1: Check your burner size
Before unfolding the stand, look at the burner you plan to use. The stand is designed to sit securely over a standard gas burner, so confirm your cooktop's burner matches a typical size and configuration. If your stove has an unusually small or oversized burner head, test the fit before committing to a full grilling session.
Step 2: Unfold and lock the frame
Unfold the stand fully, making sure the frame locks into its open position rather than sitting only partially extended — a partially unfolded stand won't provide the stable base needed for safe grilling. Check that the mesh grill surface sits flat and level once the frame is open.
Step 3: Position it on the burner
Center the stand over the gas burner so its legs or base rest evenly, avoiding any wobble. A stable, level position is what allows even heat distribution across the mesh surface — an unevenly seated stand can create hot spots or, worse, an unstable grilling surface while you're handling hot food.
Clear the surrounding counter area of anything flammable or easily knocked over, since you'll be working close to an open flame for the duration of the grilling session.
Step 4: Light the burner and let it heat
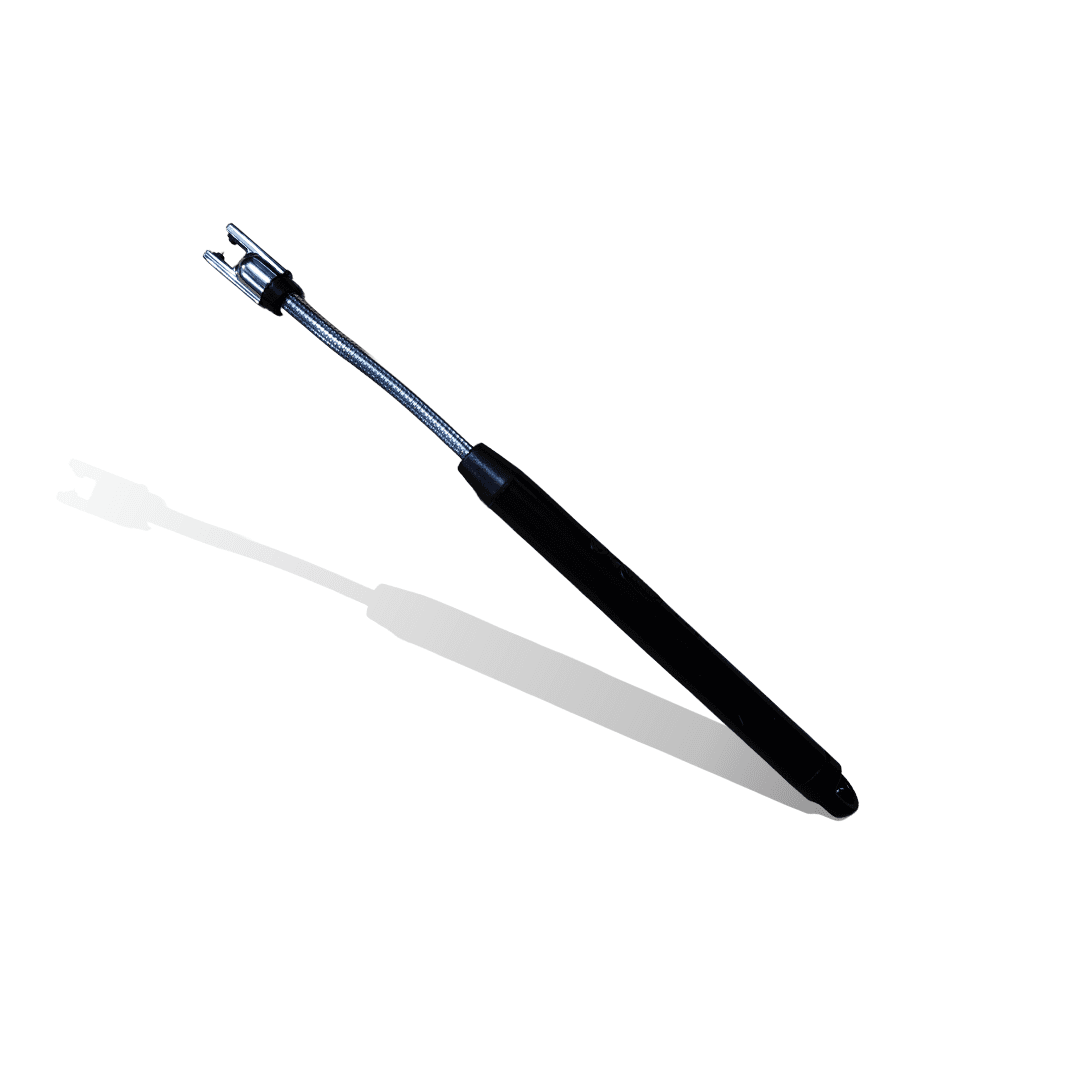
Light the burner at a low-to-medium flame first rather than starting on high — this lets the stand's stainless steel surface heat evenly before food goes on, which reduces the risk of sticking and gives more predictable cooking. An Electric Arc BBQ Lighter is a reliable way to light the burner without an open-flame match, especially useful if you're also managing skewers or food prep with your other hand.
Give the mesh surface a minute or two to come up to heat before placing food on it — testing with a small piece first is a reasonable way to confirm it's ready.
Step 5: Grill, turn, and manage heat as you go
- Use long-handled skewers or tongs to keep hands away from the heat throughout.
- Turn food periodically for even charring rather than leaving one side down for too long.
- Adjust the flame down if you notice excessive smoking or charring faster than expected.
- Keep a heatproof surface or trivet nearby for resting the stand immediately after use.
Step 6: Cool, clean, and fold away
Let the stand cool fully before handling it for cleaning — stainless steel retains heat longer than it looks like it should. Once cool, wipe down the mesh surface and rinse off any residue, then fold it back into its flat storage position for its next use.
Setting up skewers alongside the stand
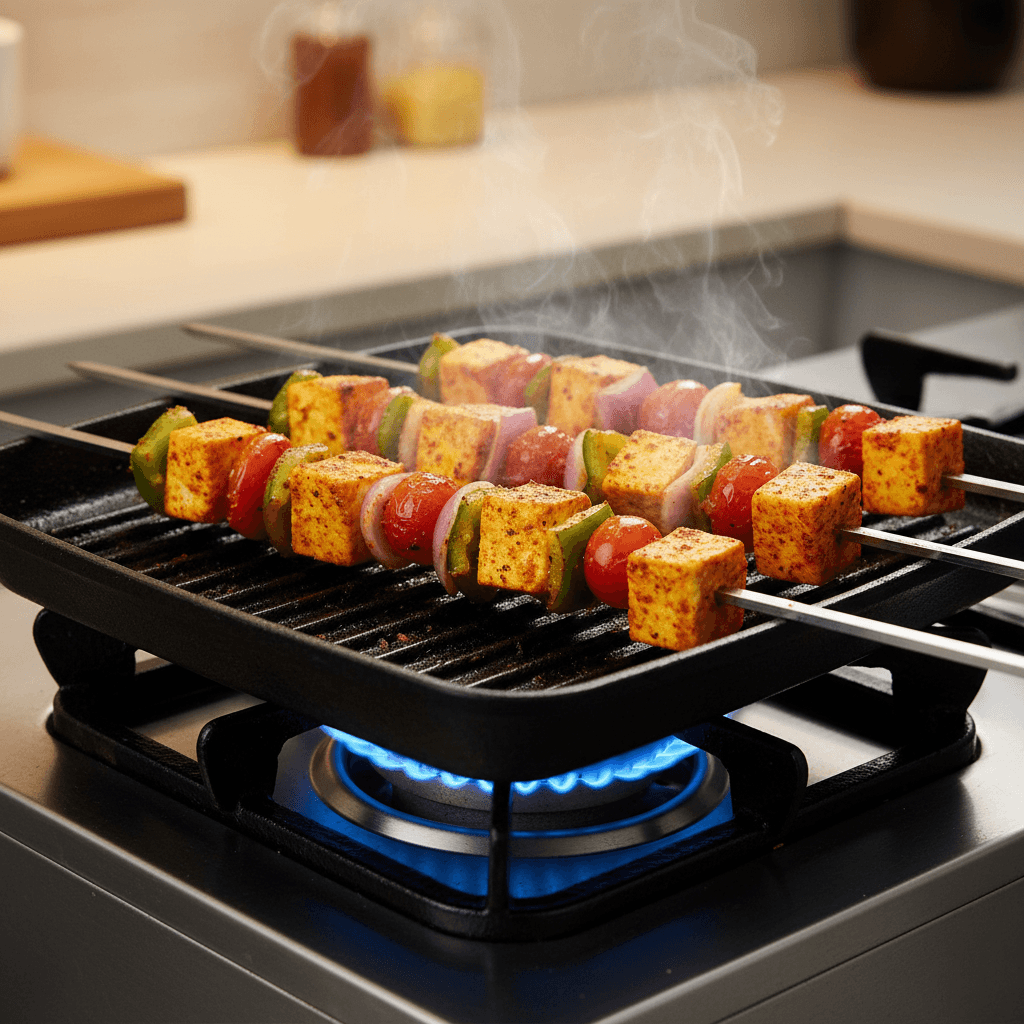
While the stand is heating in step 4, that's a good window to thread skewers with your marinated ingredients, leaving small gaps between pieces so heat can reach all sides evenly. Doing this while the surface preheats rather than before means your food goes onto the grill as fresh as possible rather than sitting assembled and losing marinade to gravity while you wait for the stand to be ready.
First-session expectations
Your very first grilling session on a new stand may run slightly differently from later ones, since you're still learning how your specific stove's flame interacts with the mesh surface. It's reasonable to expect a bit of trial and error on flame level and timing during that first attempt — this settles quickly once you've calibrated to your own setup, and it's a normal part of getting familiar with any new grilling tool, not a sign anything is wrong with the stand itself.